
.png)
.png)

Introduction
A gravel driveway is a practical and cost-effective option for many homes and properties. When installed correctly, it provides excellent drainage, durability, and a traditional appearance. This guide explains how to lay a gravel driveway step by step to help you achieve a long-lasting finish.
Step 1: Plan and Measure the Area
Start by measuring the driveway area to calculate how much gravel and sub-base material you will need. Consider vehicle access, drainage, and edging requirements before starting the project.
Mark out the area clearly using string lines or spray markers.
Step 2: Excavate the Area
Remove soil and vegetation to the required depth. Most gravel driveways require excavation deep enough to accommodate:
- Sub-base material
- Gravel layer
- Edging
A solid foundation is essential for preventing movement and sinking later.
Step 3: Install a Sub-Base
A sub-base provides stability and improves load distribution. MOT Type 1 is one of the most commonly used materials for this purpose.
The sub-base should typically be installed at a compacted depth of around 100–150mm for domestic driveways.
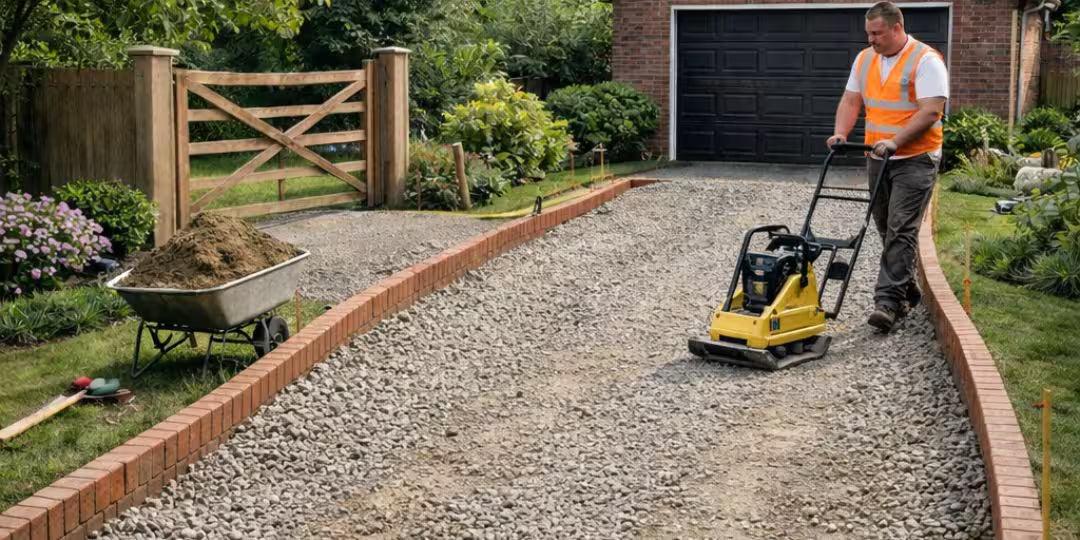
Step 4: Compact the Sub-Base
Use a plate compactor or roller to compact the sub-base thoroughly. Proper compaction helps create a stable and durable foundation.
Poor compaction can lead to uneven surfaces and rutting over time.
Step 5: Add a Weed Membrane
Installing a weed membrane helps reduce weed growth while allowing water to drain naturally through the surface.
This improves long-term maintenance and keeps the driveway looking cleaner.
Step 6: Spread the Gravel
Spread the gravel evenly across the surface to the desired depth, usually around 40–50mm.
For driveways, angular gravel between 10mm and 20mm is often recommended because it locks together more effectively than rounded stones.
Common Mistakes to Avoid
- Skipping the sub-base
- Using insufficient gravel depth
- Poor compaction
- Choosing rounded gravel that moves easily
- Ignoring drainage requirements
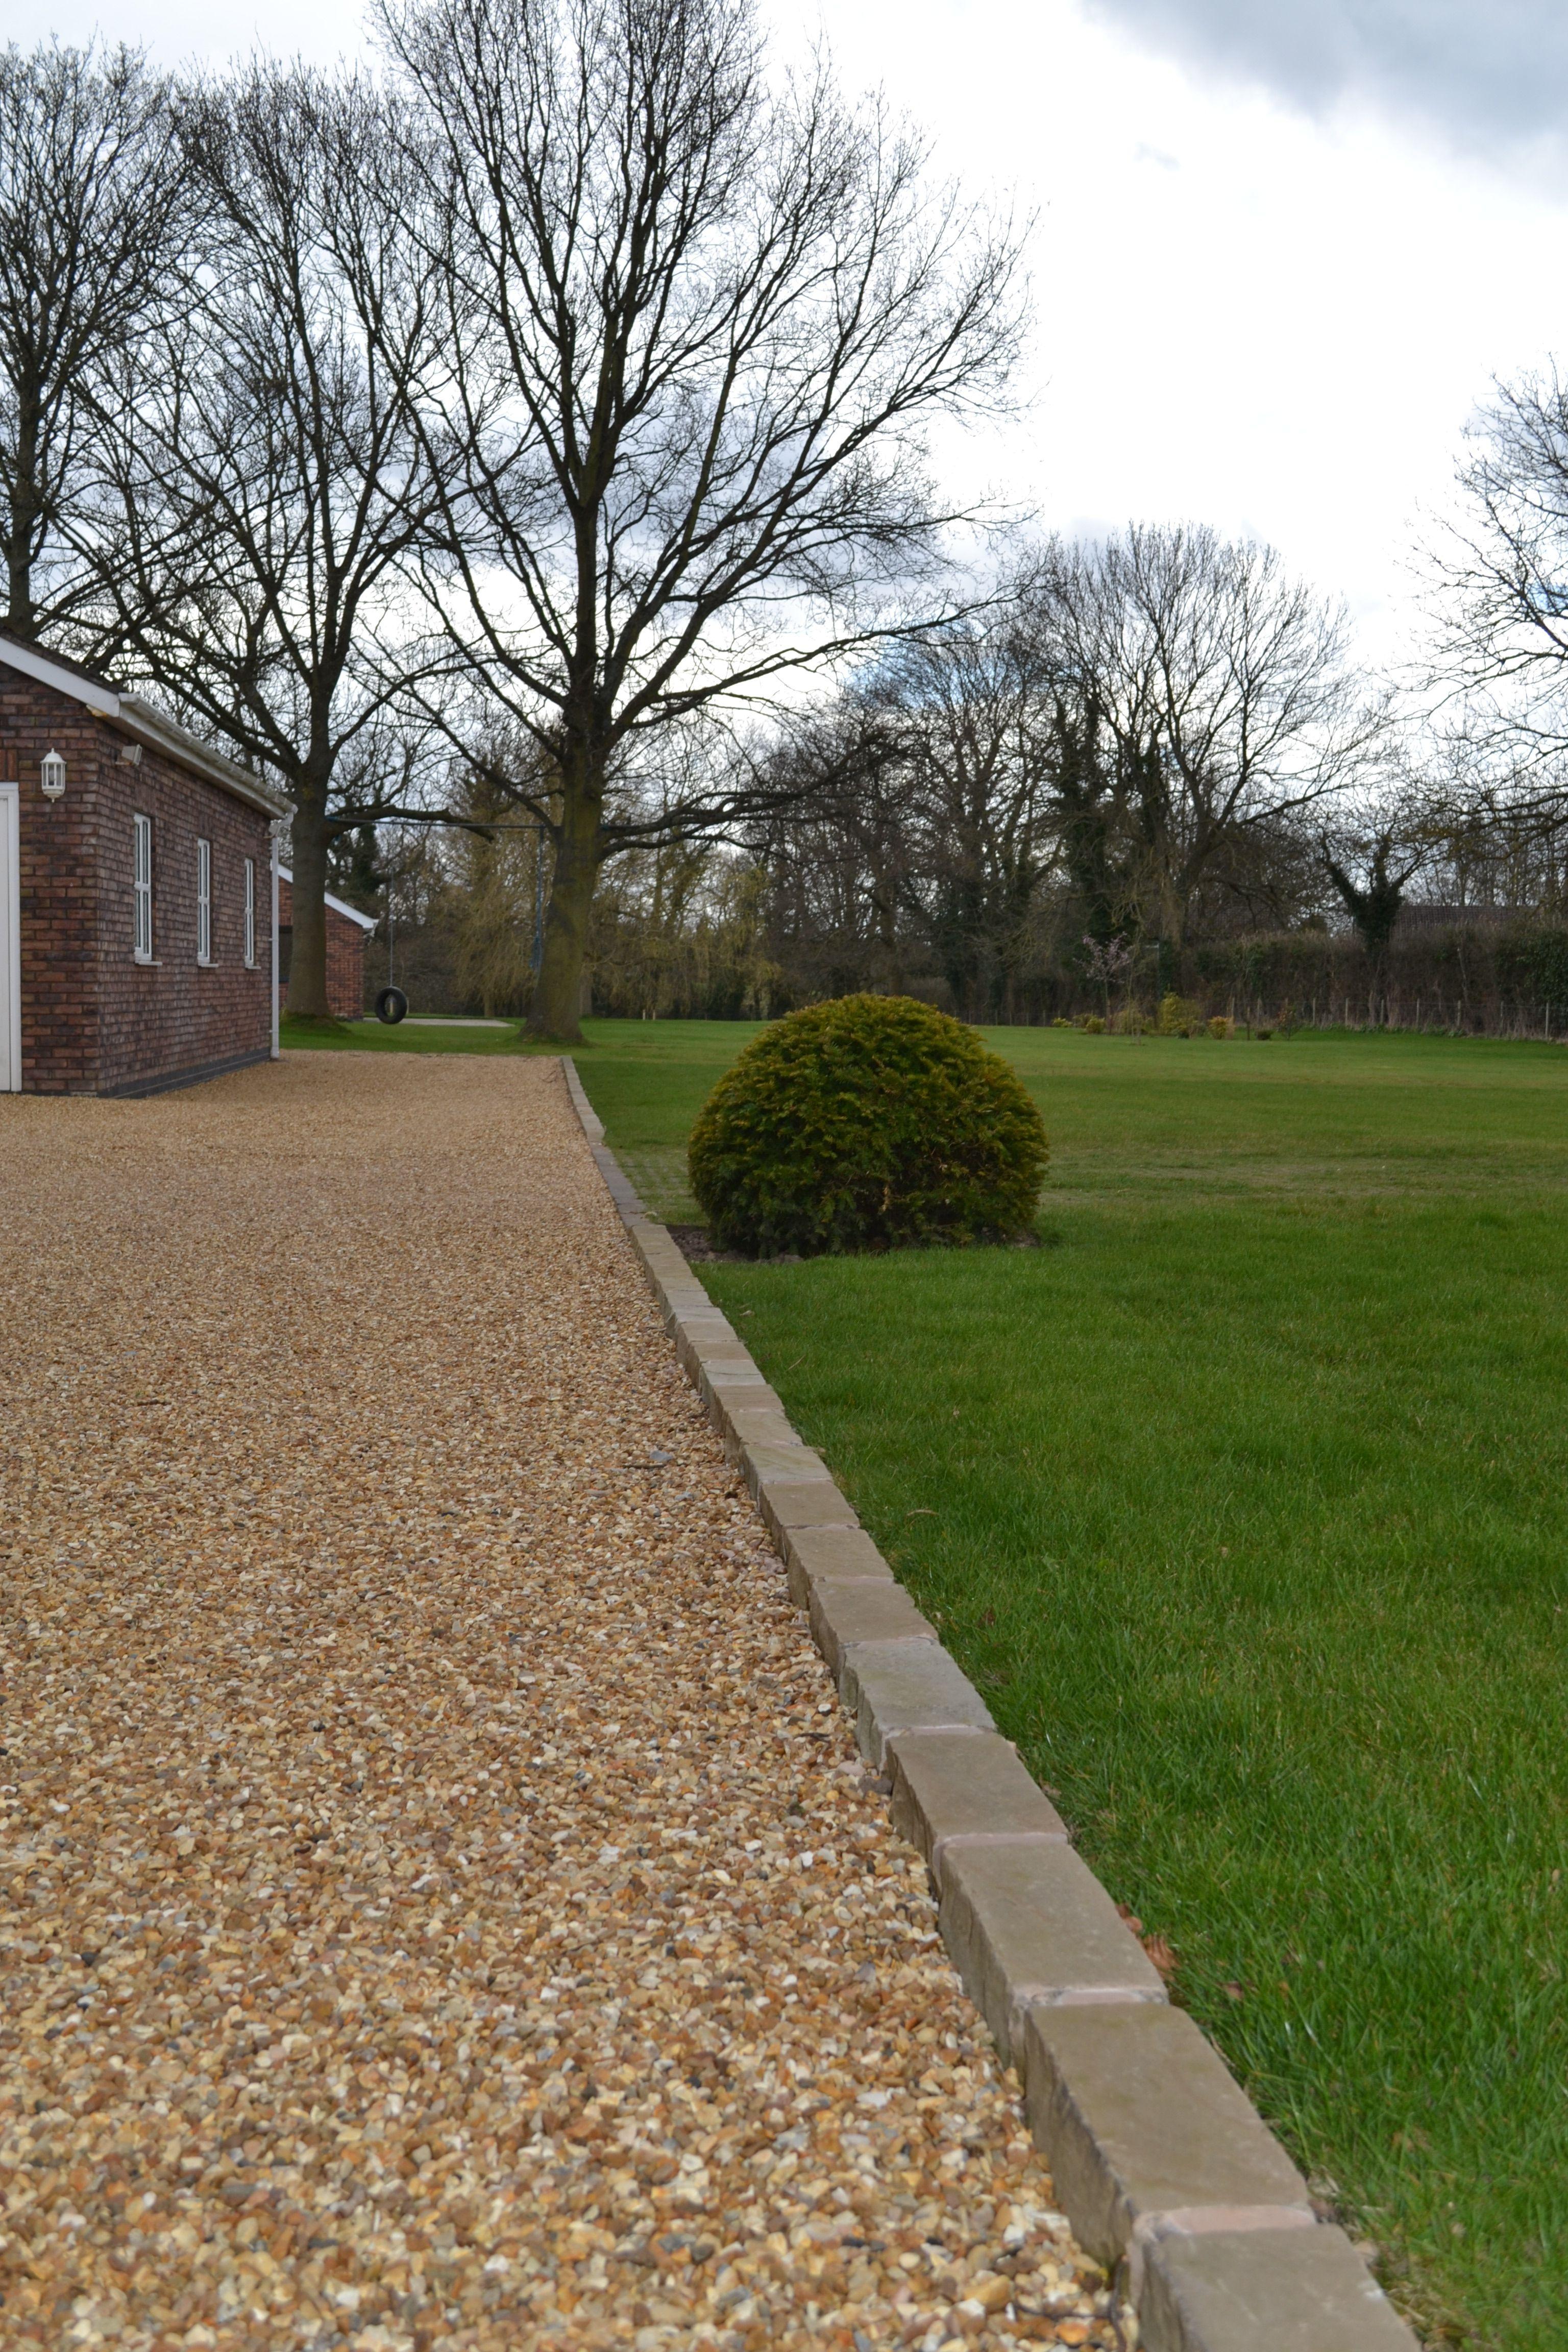
Conclusion
Laying a gravel driveway properly requires good preparation, the right materials, and proper compaction. By following the correct steps, you can create a durable and attractive driveway that performs well for many years.
Call to Action
Browse our range of aggregates or contact our team for advice on choosing the right materials for your gravel driveway project.
Introduction
A gravel driveway is a practical and cost-effective option for many homes and properties. When installed correctly, it provides excellent drainage, durability, and a traditional appearance. This guide explains how to lay a gravel driveway step by step to help you achieve a long-lasting finish.
Step 1: Plan and Measure the Area
Start by measuring the driveway area to calculate how much gravel and sub-base material you will need. Consider vehicle access, drainage, and edging requirements before starting the project.
Mark out the area clearly using string lines or spray markers.
Step 2: Excavate the Area
Remove soil and vegetation to the required depth. Most gravel driveways require excavation deep enough to accommodate:
- Sub-base material
- Gravel layer
- Edging
A solid foundation is essential for preventing movement and sinking later.
Step 3: Install a Sub-Base
A sub-base provides stability and improves load distribution. MOT Type 1 is one of the most commonly used materials for this purpose.
The sub-base should typically be installed at a compacted depth of around 100–150mm for domestic driveways.
Step 4: Compact the Sub-Base
Use a plate compactor or roller to compact the sub-base thoroughly. Proper compaction helps create a stable and durable foundation.
Poor compaction can lead to uneven surfaces and rutting over time.
Step 5: Add a Weed Membrane
Installing a weed membrane helps reduce weed growth while allowing water to drain naturally through the surface.
This improves long-term maintenance and keeps the driveway looking cleaner.
Step 6: Spread the Gravel
Spread the gravel evenly across the surface to the desired depth, usually around 40–50mm.
For driveways, angular gravel between 10mm and 20mm is often recommended because it locks together more effectively than rounded stones.
Common Mistakes to Avoid
- Skipping the sub-base
- Using insufficient gravel depth
- Poor compaction
- Choosing rounded gravel that moves easily
- Ignoring drainage requirements
Conclusion
Laying a gravel driveway properly requires good preparation, the right materials, and proper compaction. By following the correct steps, you can create a durable and attractive driveway that performs well for many years.
Call to Action
Browse our range of aggregates or contact our team for advice on choosing the right materials for your gravel driveway project.